
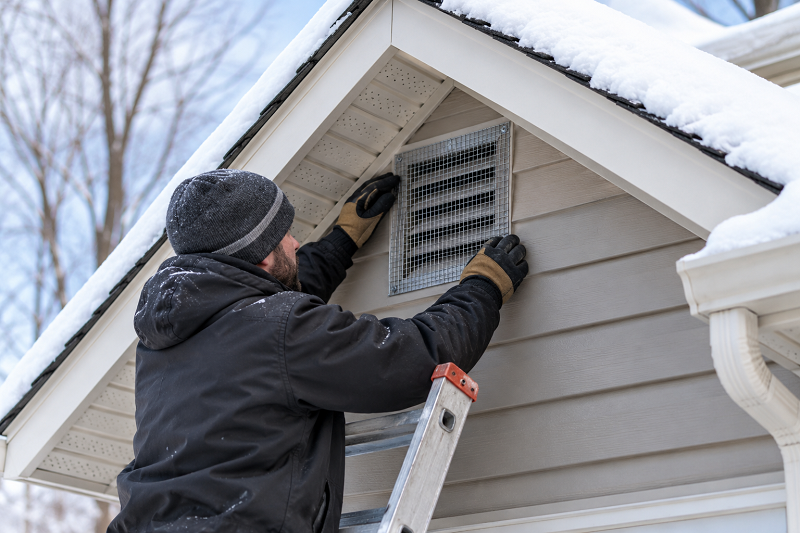
 As temperatures drop across Central Minnesota, homeowners begin prepping their houses for snow, ice, and freezing winds. However, winterizing your home isn’t just about furnace tune-ups or clean gutters—it’s also the crucial window for protecting your home against unwelcome wildlife.
In late autumn and early winter, bats seek warm, quiet, and sheltered roosts to undergo torpor (a hibernation-like state). Attic spaces, wall voids, roof ridgelines, and soffits make prime real estate for bats looking to escape freezing outdoor temperatures. Protecting your attic during late fall prevents roosting colonies from overwintering inside your structures.
Here is a complete guide on how to winterize your home against bats safely, legally, and permanently, brought to you by Badger Wildlife Management.
Why Late Fall & Winter Are Critical for Bat Proofing
During late spring and summer (specifically June through mid-August), bat removal is heavily restricted because flightless pups are present in maternal colonies. Sealing entry points during summer risks trapping babies inside, causing structural damage, health hazards, and legal penalties.
Late autumn offers a strategic advantage:
- Juveniles are fully flighted: Young bats can fly and forage on their own.
- Pre-Hibernation Migration: Bats are either leaving for caves/mines or looking for stable attic roosts before deep freezes arrive.
- Sealing season is open: Full structural exclusion work can be legally and safely performed before bats go fully dormant for the winter.
Once bats enter deep winter hibernation inside an attic, humane exclusion becomes nearly impossible until spring warming arrives. Sealing them out before deep freeze conditions hit ensures your home stays bat-free all winter long.
Step-by-Step Guide: How to Winterize Your Home Against Bats
- Perform a Thorough Exterior Perimeter Inspection
Bats do not require large openings to enter a building. A big brown bat can slip through a gap as tiny as 3/8 of an inch (about the size of a dime or a pinky finger).
Inspect your exterior from foundation to roofline, paying special attention to:
- Rooflines & Ridge Vents: Sagging shingles, gaps in ridge vent end-caps, or un-screened roof vents.
- Soffits & Fascia Boards: Gaps where the soffit meets the brick or siding, warped fascia boards, or rotted wood corners.
- Gable Vents & Chimneys: Loose louvers, missing wire mesh, or degraded chimney flashing.
- Siding & Corner Posts: Openings in vinyl siding corners or gaps near utility line entries.
Pro Tip: Look for telltale sign of bat activity, such as dark oil stains (rub marks) or guano accumulation around tiny exterior gaps.
- Install Professional One-Way Exclusion Devices
If bats are currently living in your attic, never simply block or caulk entry points while bats are inside. Trapping bats in wall cavities forces them deeper into living spaces (such as basements or bedrooms) in search of an escape route, or causes them to die inside walls.
- One-Way Doors / Valves: Professional wildlife specialists install temporary one-way valves over primary entry points. This mechanism allows bats to exit to feed during mild autumn evenings but prevents them from flying back inside.
- Timing: One-way devices must remain installed until all bats have cleared the structure.
- Seal Secondary Gaps & Weak Points
While primary entries are fitted with exclusion devices, every secondary gap across the entire home must be reinforced. Bats locked out of their main entrance will actively search the exterior for alternate openings.
- Use Heavy-Duty Materials: Bats and rodents can chew through standard spray foam or plastic mesh. Use 1/4-inch galvanized hardware cloth (steel mesh), high-grade exterior silicone caulk, or custom aluminum flashing.
- Cap Chimneys: Ensure chimney flues are capped with stainless steel mesh covers.
- Seal Ridge Vents: Secure ridge vents with specialized bat-guard netting or metal mesh liners.
- Clean, Sanitize, and Restore the Attic
Winterizing isn’t finished once the entry points are sealed. Bat droppings (guano) left in attics decompose over time, generating odor and health risks.
- Health Risk (Histoplasmosis): Guano harbors fungal spores (Histoplasma capsulatum) that can cause severe respiratory infections when airborne.
- Insulation Damage: Guano and urine compress and contaminate attic insulation, reducing heat retention during cold Minnesota winters.
- Professional Decontamination: Professional technicians safely vacuum contaminated insulation using HEPA-filtered vacuums, apply EPA-registered antimicrobial treatments, and re-insulate to restore energy efficiency.
Winter bat-proofing requires working safely at heights, identifying micro-gaps on complex rooflines, and adhering strictly to state wildlife regulations.
Badger Wildlife Management provides humane, code-compliant, and guaranteed bat removal across Zimmerman, St. Cloud, the Twin Cities, and Central Minnesota.
- Complete Home Inspections: Pinpointing primary and secondary micro-entries.
- Humane Exclusion: One-way valve installations designed for seasonal bat habits.
- Full Structural Repair: Professional-grade sealing, flashing, and vent proofing backed by a 3-Year Warranty.
- Guano Cleanup & Sanitization: HEPA vacuuming, attic restoration, and sanitization.
Don’t wait until bats are hibernating inside your walls this winter. Call Badger Wildlife Management today at (320) 250-5572 to schedule your fall inspection!